
Our recipes aim to inspire your creativity and talent, to help you create uniqueand high-quality gluten-free products, at a lower cost > compared to the use of ready-made mixtures. Try them, and then interpret them according to your needs, as a true craftsman would do who makes everything he does unique.
— Angel Food
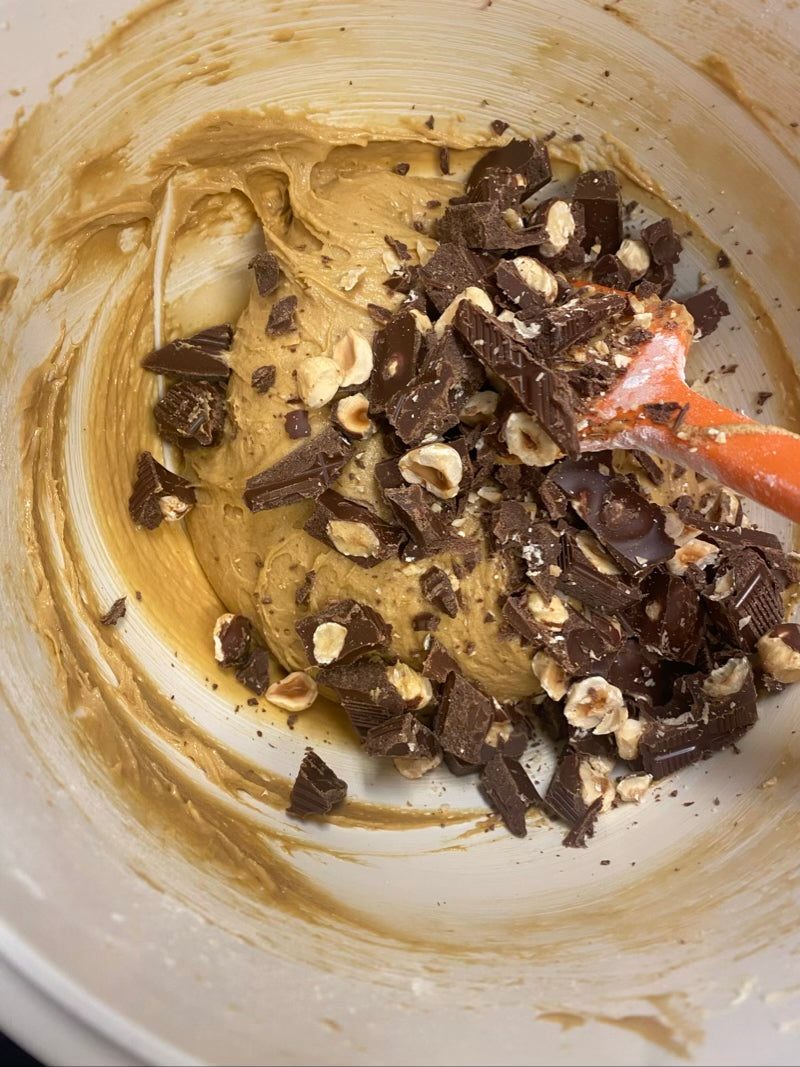
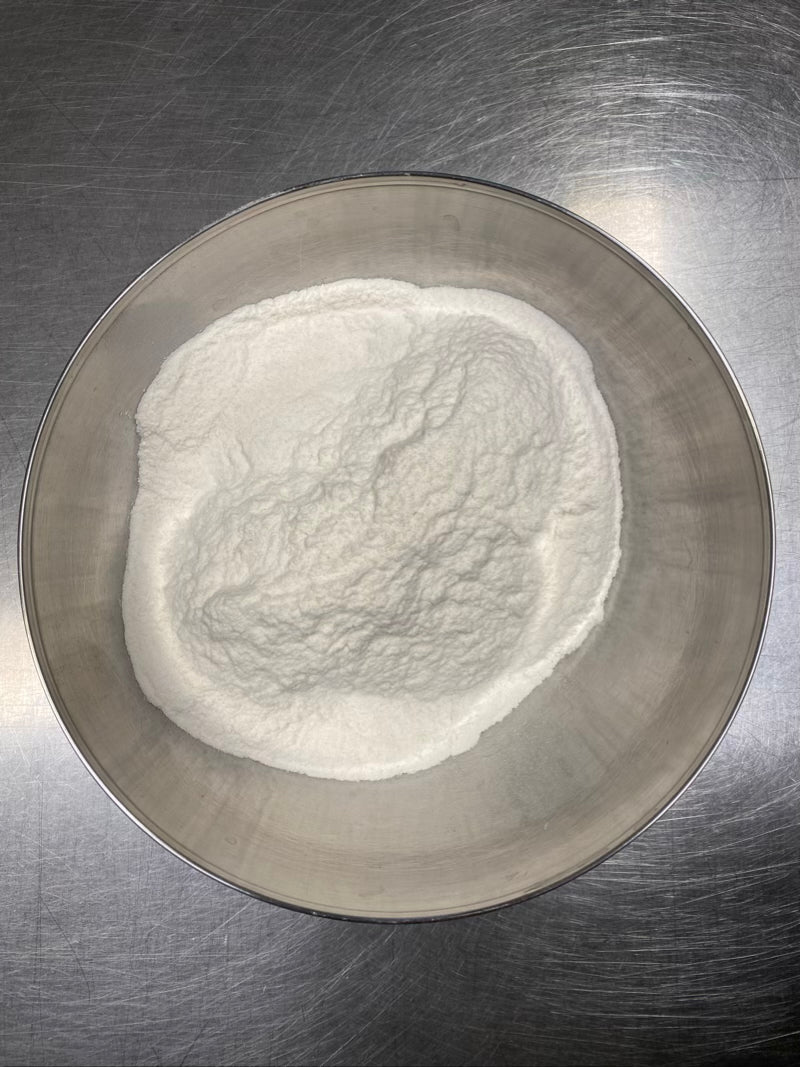
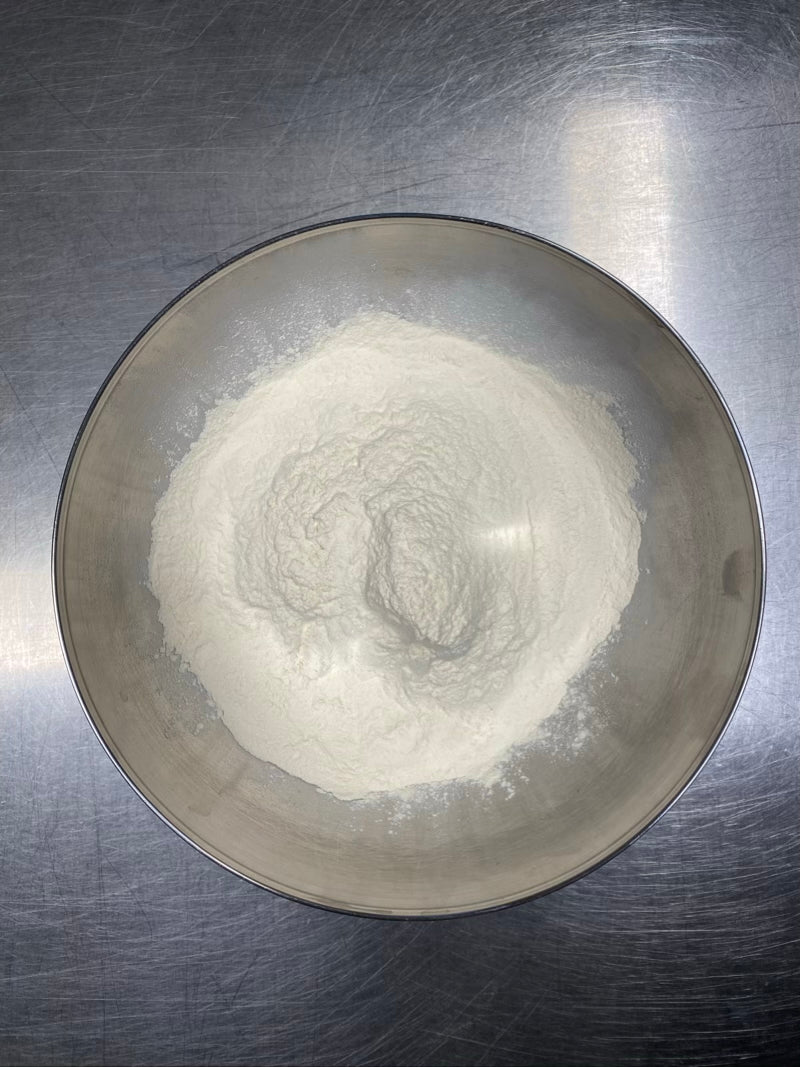
Ingredients:
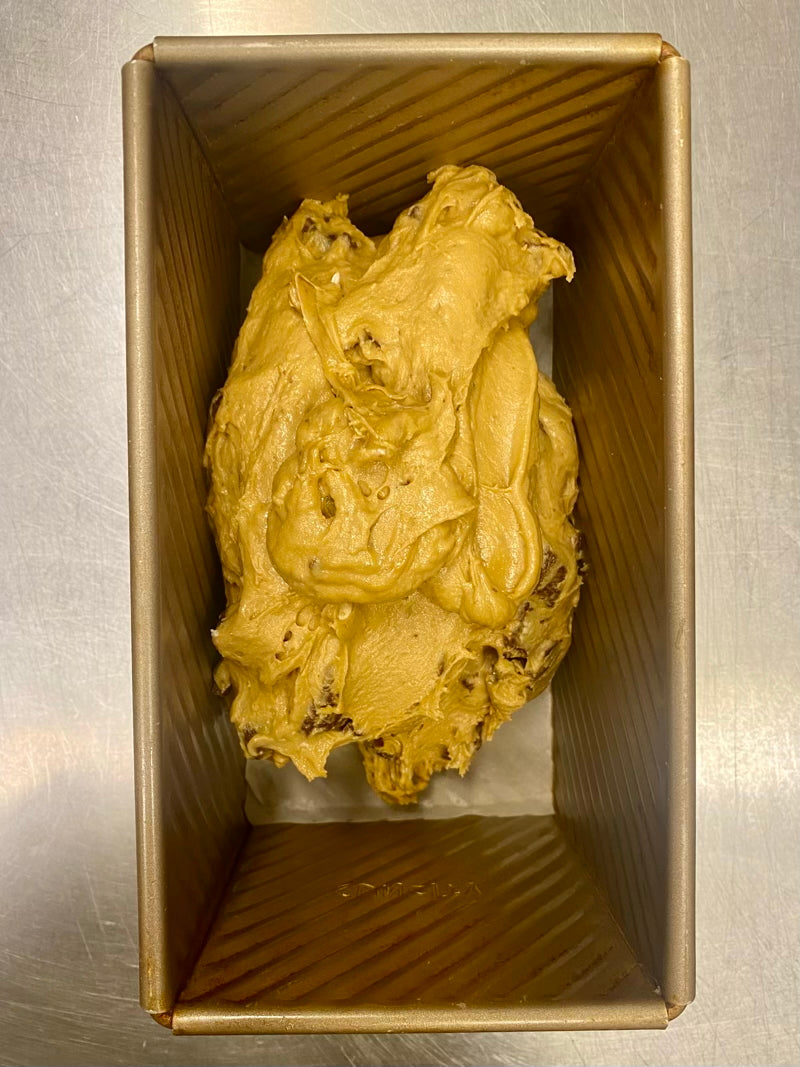
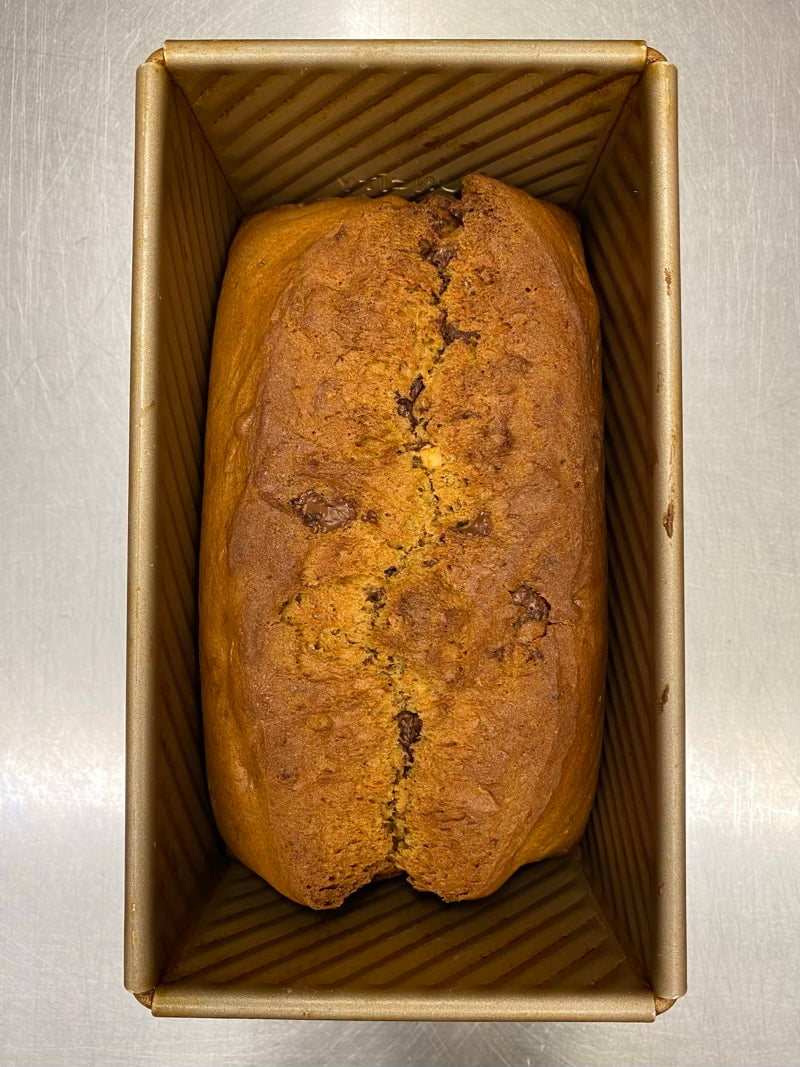
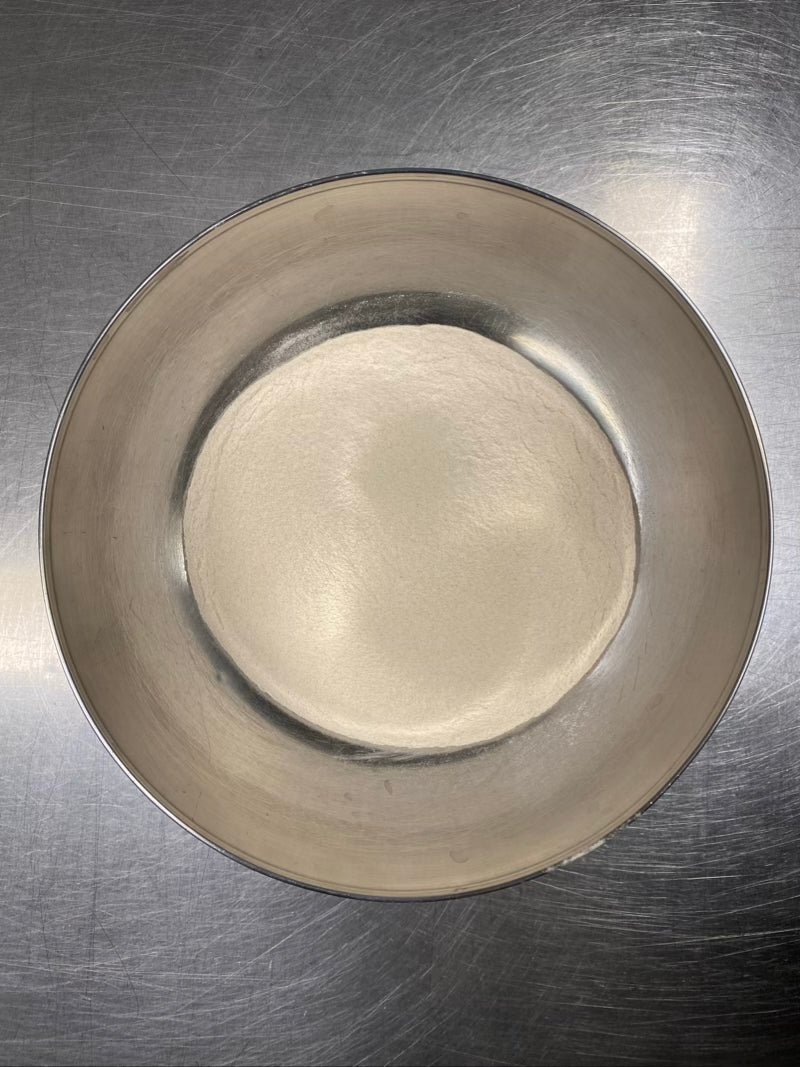
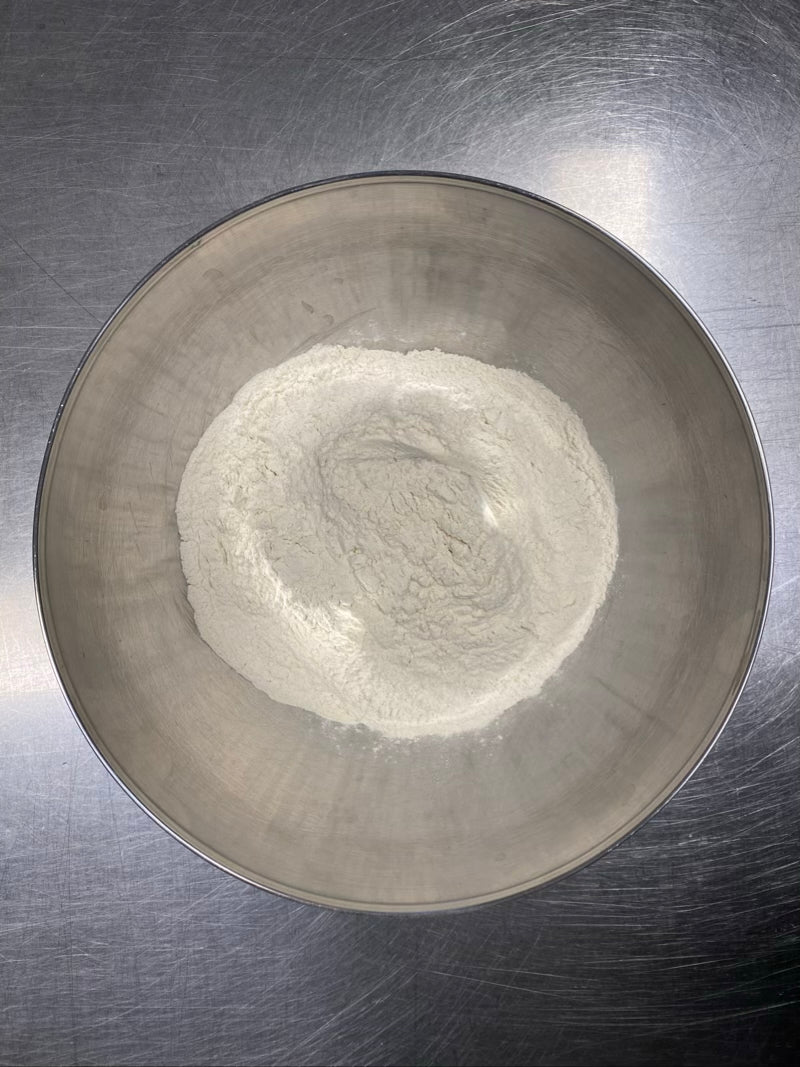
Procedure:
Remember that times and temperatures indicated may change based on various factors, such as type of equipment, product sizes, etc. and that the liquids indicated in the recipe may need to be adjusted based on the degree of hydration of the flours and starches used.

Note:
Don't let the opportunity slip away..
Buy what you need!
Take advantage of the discounts and order what you need for the perfect success of your favorite recipe.
Sale priceFrom €22,90Regular price
€25,00
Sale
Sale price€24,90Regular price
€34,90
Sale
Sale price€29,90Regular price
€34,90
Sale
Sale price€12,90Regular price
€29,90
Need help?
Don't hesitate to contact us!