Our recipes are designed to inspire your creativity and talent, helping you craft unique, high-quality gluten-free products at a lower cost than ready-made mixes. Try them, then adapt them to your needs - just like a true artisan, making every creation your own.
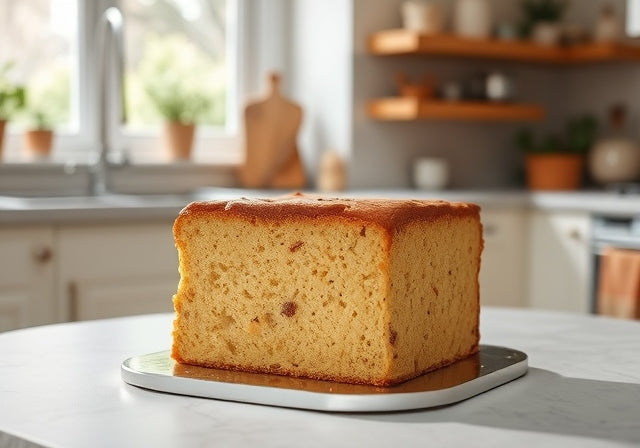
— Angel Food
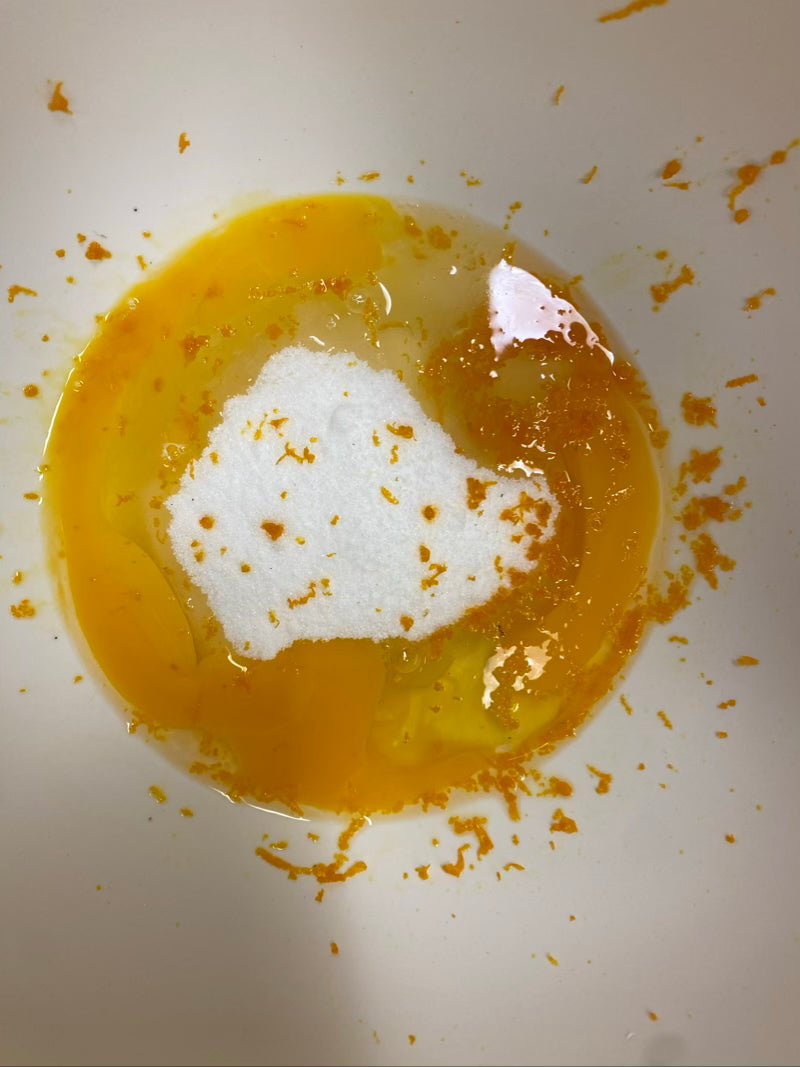
Ingredients:
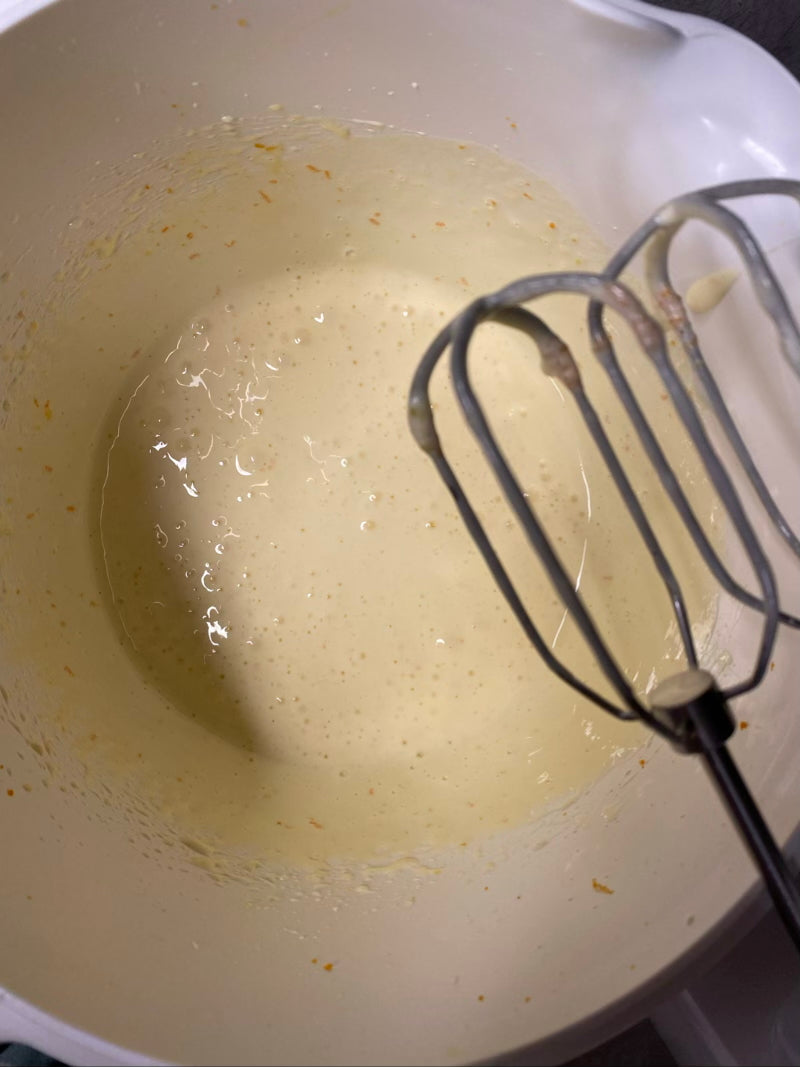
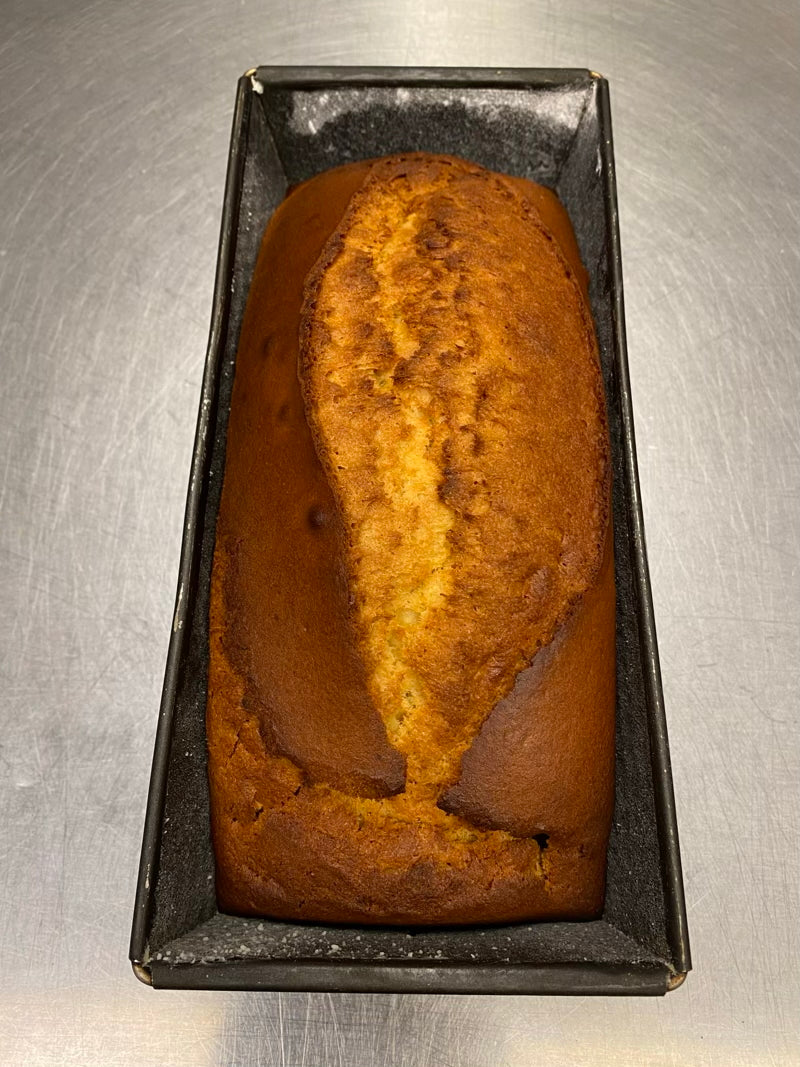
Preparation:
Remember that times and temperatures indicated may change based on various factors, such as type of equipment, product sizes, etc. and that the liquids indicated in the recipe may need to be adjusted based on the degree of hydration of the flours and starches used.

Notes:
Any doubts? Read here!
FAQs
Frequently Asked Questions
What is Angel Mix?
Angel Mix is a concentrated powder additive, gluten-free, wheat-free, corn-free, soy-free, and 100% vegan. It is used for the preparation of all types of gluten-free sweet or savory doughs, both with margarine and butter.
What is Baker Mix?
Baker Mix is a concentrated powder additive, gluten-free, wheat-free, corn-free, soy-free, and 100% vegan. It is used for the preparation of gluten-free baked goods such as bread, focaccia, bagels, donuts, buns, brioche, etc., etc.
What can I dust the work surface with to prevent the dough from sticking?
For laminated doughs, such as puff pastry, croissant, etc., the use of rice starch, or tapioca starch or potato starch, in this preferential order, is IMPERATIVE. The use of flour of any type and granularity, which alters the composition of the dough making it dry and creating micro fractures on its surface, must be ABSOLUTELY avoided.
For doughs of bread, pizza, etc., the use of any type of starch is recommended, but it is also possible to use very fine flour if possible.
In any case, it is recommended to use only the strictly necessary amount for the processing and to remove the excess, especially during the preparation of laminated doughs.
Why don't you use cornstarch in recipes?
Because we want to offer an alternative to the usual ready-to-use industrial mixes, which are largely made up of corn starch.
Proposing recipes based on this same ingredient would be inconsistent with our vision.
Of course, those who prefer can replace potato starch with corn starch. It is an inexpensive and easy-to-find ingredient, but it tends to dry out products more quickly.
The truth is that with Baker Mix you save compared to the ready-made mixes available on the market, even when using better and more expensive raw materials.
In short, it's hard to do better!
Can I use fresh eggs and milk instead of powdered ones?
Sure, although the use of powdered ingredients is preferable because it allows for more precise standardization of all production phases and is much faster in a professional environment.
However, know that 10g of whole egg powder corresponds to a medium egg, weighing 40 grams shelled (in fact, to reconstitute 10g of egg powder, 30g of water is needed).
8g of egg yolk powder corresponds to 1 yolk, reconstituted with 8g of water.
While 10g of powdered milk should be considered as 100g of milk, since 90g of water must be added to reconstitute it.
Are powdered eggs better or fresh ones?
It depends.
Powdered eggs ensure greater production efficiency and easier logistical management.
But fresh eggs guarantee a more stable and resilient structure both during leavening and baking. Especially with rich and/or "heavy" doughs (such as Colomba, Pandoro, etc.), they are preferable.
Is powdered milk better or fresh milk?
All else being equal in quality, powdered milk is preferable because it is more "convenient" to handle even logistically, and it has a more intense flavor since it is in powder form. By "playing" with hydration, it is indeed possible to accentuate or reduce the intensity of its taste in the product.
Can I substitute some ingredients?
Yes, but without completely changing the recipe, you can for example replace starches and flours.
Or you can replace sugar with cane sugar or coconut sugar.
Or use seed oil instead of EVO oil, and vice versa.
Obviously, you need to take these changes into account and possibly recalibrate the hydration of the recipe or specific procedures.
You can also enrich the recipe with your personal touch: add chopped black olives to the bread recipe, or put a pinch of cinnamon in your brioche, etc.
Our recipes mainly serve as a source of inspiration rather than a strict cookbook to follow.
And if you have any doubts, contact us!
Do I need a mixer?
Yes, although it is possible to prepare doughs by hand or with household appliances, the use of a dough mixer is strongly recommended, even if not professional, but one that can guarantee sufficient working intensity to properly prepare the doughs.
Is it really necessary to knead doughs prepared with Baker Mix for a long time?
Yes, because working the dough for a long time at medium-high speed helps to overcome the initial stiffness of the fibers and hydrocolloids, making the dough smoother, more homogeneous, and softer.
Can I freeze the raw dough?
Yes, you can freeze the freshly made and already portioned product BEFORE the proofing stage. However, keep in mind that the yeast in the dough will not survive more than 20/25 days, so the product should be consumed before this period.
Simply thaw the product in the refrigerator - well covered to prevent drying on the surface - for at least 12 hours, after which it can be handled like a freshly made product (i.e., proofing and baking).
Don't let the opportunity slip away..
Buy what you need!
Take advantage of the discounts and order what you need for the perfect success of your favorite recipe.

Need help?
Don't hesitate to contact us!